Tutorial #3: How To Repair Broken Pieces of a Model Using Super Glue and Baking Soda
Broken Models often pose all sorts of individual issues, depending on where the break is, how bad it is, and the condition of the break. In this tutorial I will be repairing a neck break on a Lady Phase CM.
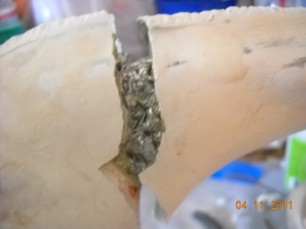 | So to recap... so far we have removed the broken part, cleaned the foil out of the inside, created a new support out of wire and anchored that wire in place. We've gone over the type of glue you want, and don't want. Lets move on, shall we? |
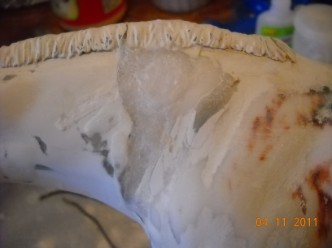
 | So now we have this unattractive hole in your models neck. Don't worry, its easy to fill in without using apoxie/clay or similar materials. Now, if I had a chance to go back and redo this lady, I would have included one more step here. I would have taken Blue Painters Tape, and cut the tape to fit the hole, and filled in over that. But, I didn't, so lets explain what I DID do. In the picture, you'll see the plastic needle applicator tip that's on the nozzle of my glue bottle. This tip is indespensible to me for getting glue in very specific, tight places. Pretty much all it takes to fill this hole in is a lot of glue, b. soda, and patience. Starting with the very lowest and narrowest part of the opening, create a tiny bubble of glue between the two edges. Do this quickly, as it will want to run down the inside of the model. Grab a large pinch of b. soda, and toss it on the glue bubble. Repeat this about a million times until you get a smaller and smaller opening. |
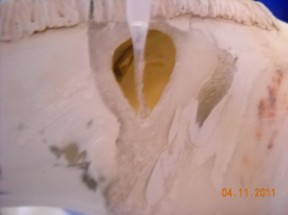
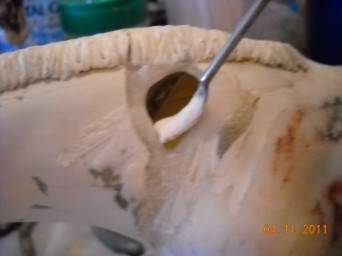 | This opening took me about two hours to this point in the picture. I decided to show the little 'spoon' tool I use to help get b. soda in those hard to reach areas. The only tip I can offer during this stage is to occasionally turn the model over and dump out the excess powder that accumulates. I also didn't worry about the surface being smooth, or flush with the edges of the horse itself. Those are details you can attend to after the hole is completely filled in. |
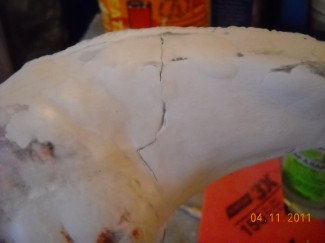
 | We get smaller and smaller... from the previous picture to this one was about another 40 minutes. At this point I was applying the glue in circles trying to close it up. |
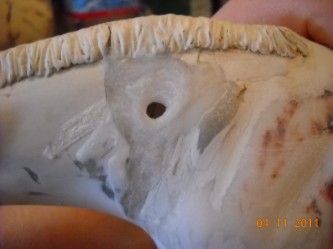
 | Annnndd we are finished! Now is the time to make sure all the tiny corners are filled in, there aren't any openings, that its a solid sheet of the b. soda mix. Now run your finger around the edges to see if there are any raised edges on the plastic. Fill those in and make sure the surface of the mix is flush with the plastic. |
 | Turn the model around and fill in the tiny spaces you find in the break. Now its time for sanding. Sand the entire surface of the b. soda filler, sand the seams flush, sand places you don't think you need to sand. You can take a sanding attachment on a rotary tool and sand the fill, but keep in mind that the b. soda will emit some nasty fumes when heated up from the sanding wheel. A lower grain sand paper might work better on this. If need be, you can cover up the filler with your clay apoxie of choice, but if the surface under the clay isn't smooth, your clay won't be smooth either. These are the types of details that make or break this type of repair. |
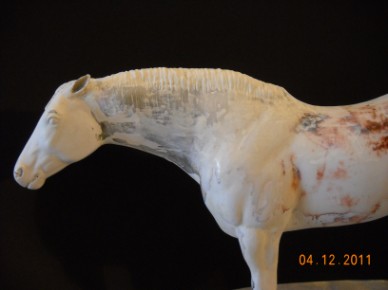 | The finished repair, after sanding, polishing, and re-sculpting the mane over the break. |
I hope you enjoyed this tutorial! Please feel free to send any questions you might have on this repair to faraetaildreams at gmail dot com.