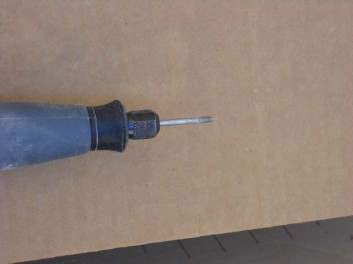
I am of the mindset that the easiest fastest way is best. That method would be my lovely Dremel with its Flex shaft and bit.
This bit is the one that I use for nearly everything.... ears and hooves both.
I can get the end into nearly any position with the flex shaft, and it makes it very simple to carve ears and get into those teeny areas.The bit can be used either on the tip, or sideways against the length.
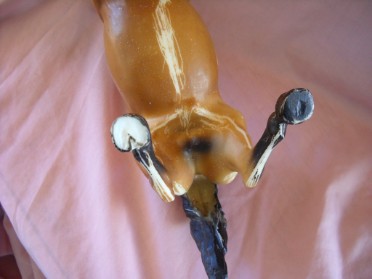
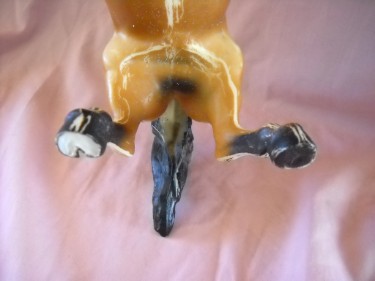
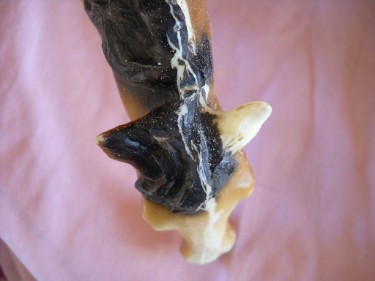
First thing I do is to make a cut in the back of the hoof where the natural indent would be, between the bulbs of the heels. Extend this cut up to the bottom of the hoof, about a quarter of the way up the hoof.
Next, draw your "V" upside down for the outline of the frog. The point of the "V" usually doesn't go more than halfway or to the center point of the hoof.
The hoof wall is normally pretty thin, so go around the outer edge of the hoof, just barely inside the hoof. This line should start at the bottom of the V and go all the way around.
Now that you have the basic shape mapped out, and remember to follow the shape of the hoof, you can dig out the sole some.
I don't go that deep down into the plastic. Just deep enough to show the indents, but thats all.... with the exception in the points down by the heels. (Where you'd stick the hoof pick into  ).
).
I'll stick the tip of the bit into those points to get some depth there, try to make it even on both sides. Keep the bit up at an angle so the length of the bit doesn't tear apart the hoof by accident.
Then I'll run the bit length wise along the inner line of the hoof wall, and define the sole. This is probably the hardest part to describe in words.
I freehand them to a point - I don't draw the shape in with pen but use the tip of the bit to lightly inscribe where I need to go and stay away from.
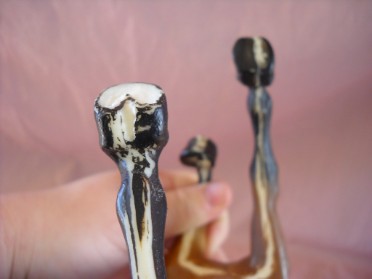
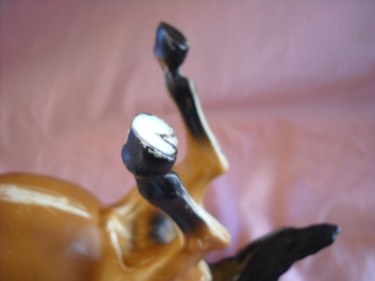
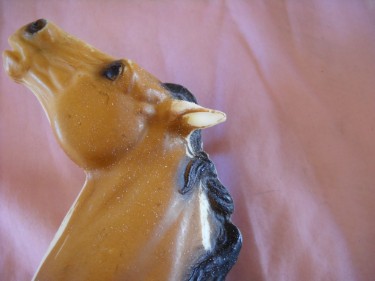
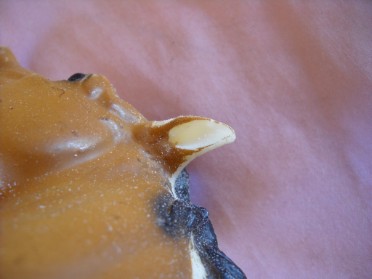
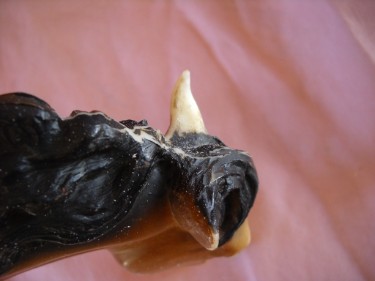
For the ears, it depends on how blocky they are, but the basic steps would be to dig out the inside of the ear to almost the edges of the ear. Then I shape the back of the ear, after drawing a line where the back of the ear meets the edge because the edge sticks out a little bit.
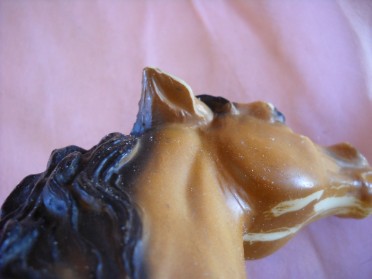
Then I smooth out the back of the ear. Click on the picture for the website the picture came from.
Pictures to compare the carved side with the non carved side. Please note that for the other ear on this horse, I would also cut the shape of the ear out from the forelock, or even cut the forelock totally off.